
Last updated November 15, 2026
 Wrought iron
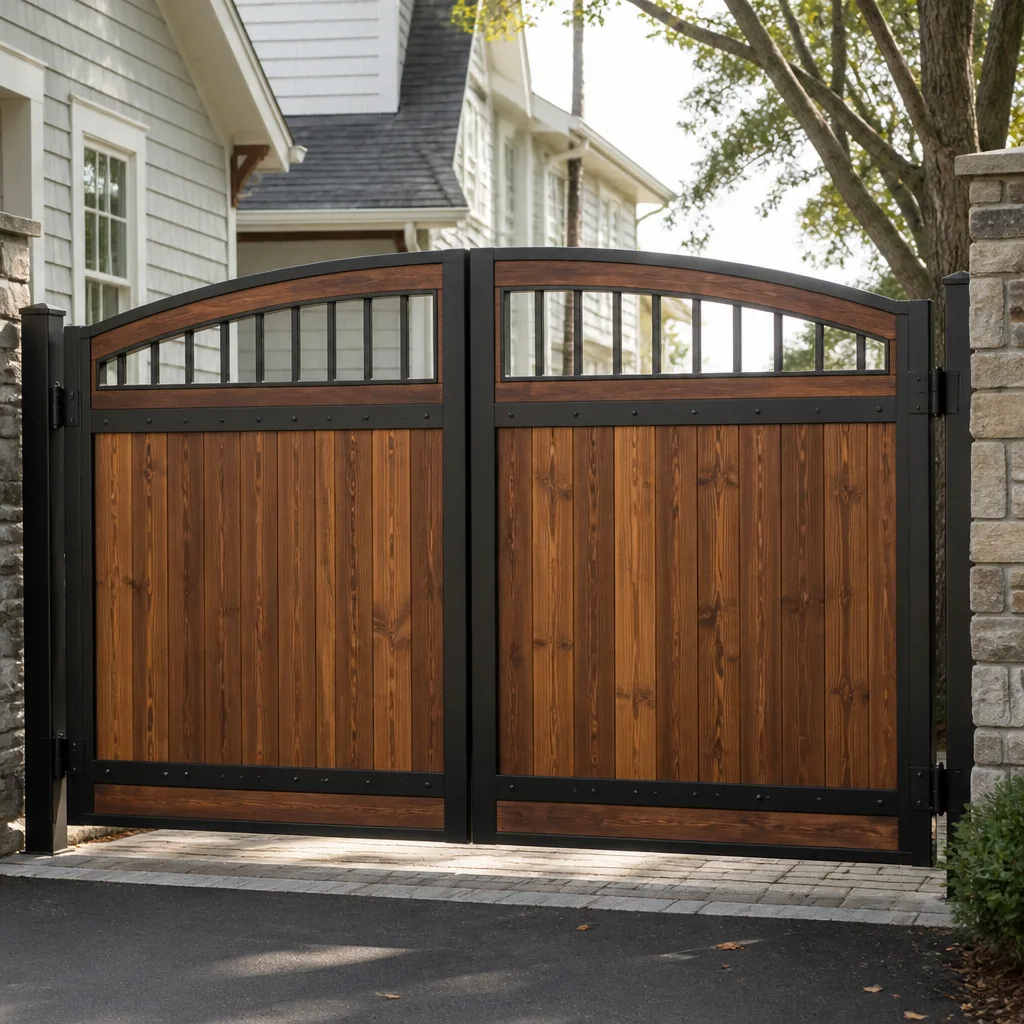 Wood & steel frame
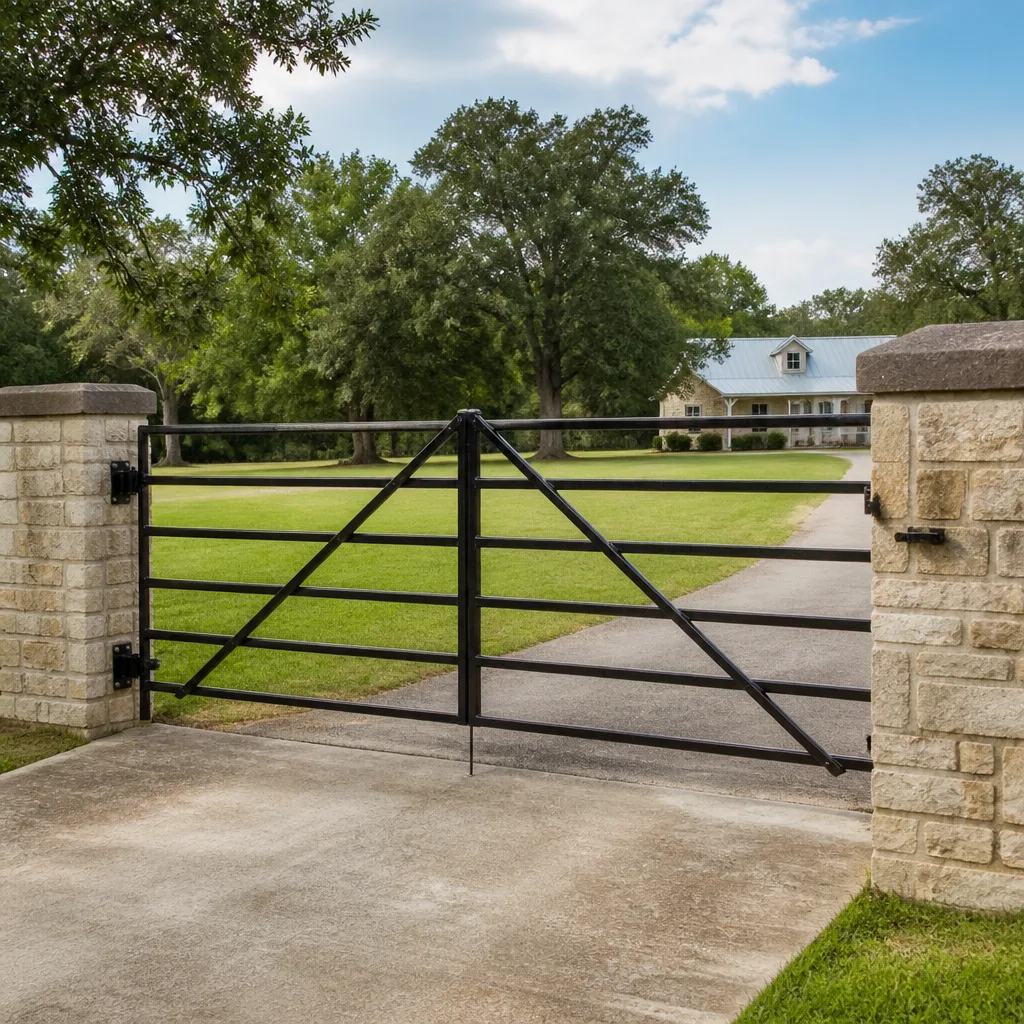 Farm & ranch
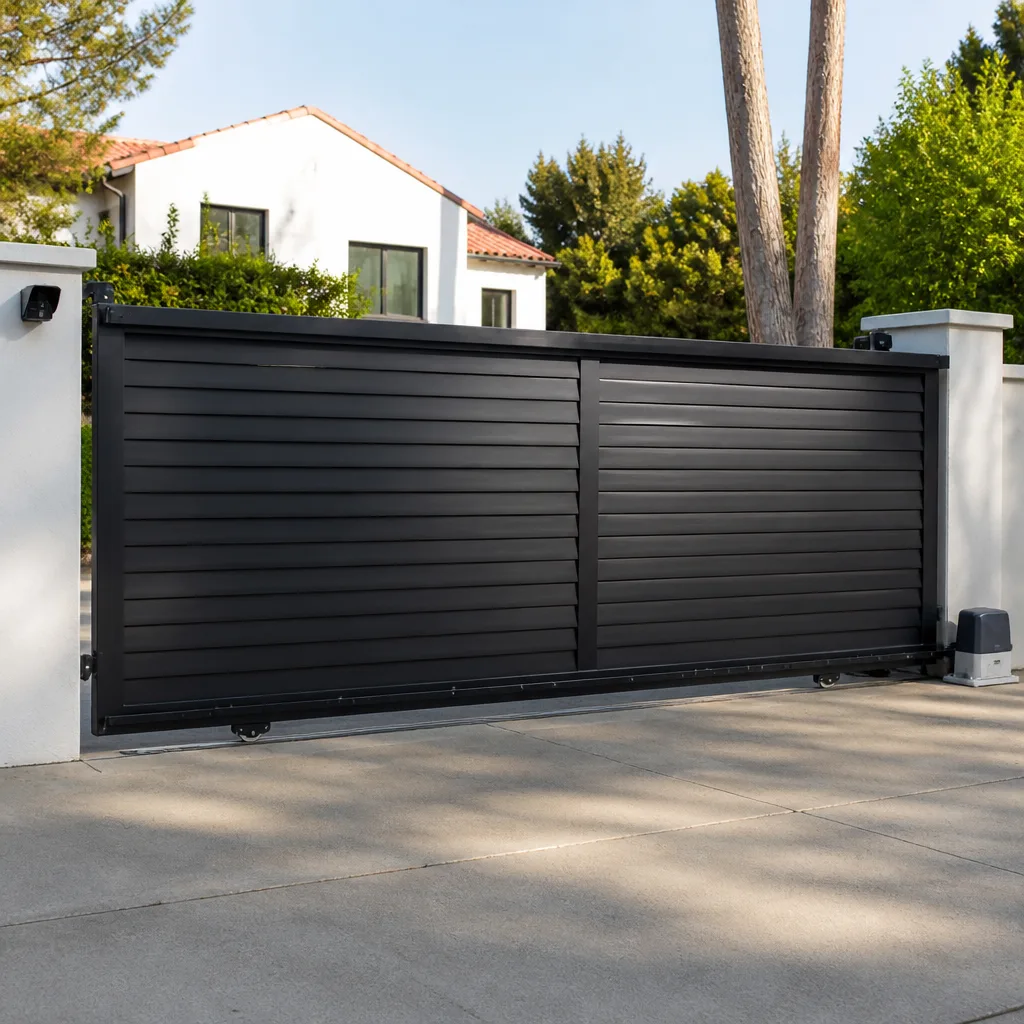 Sliding driveway gates
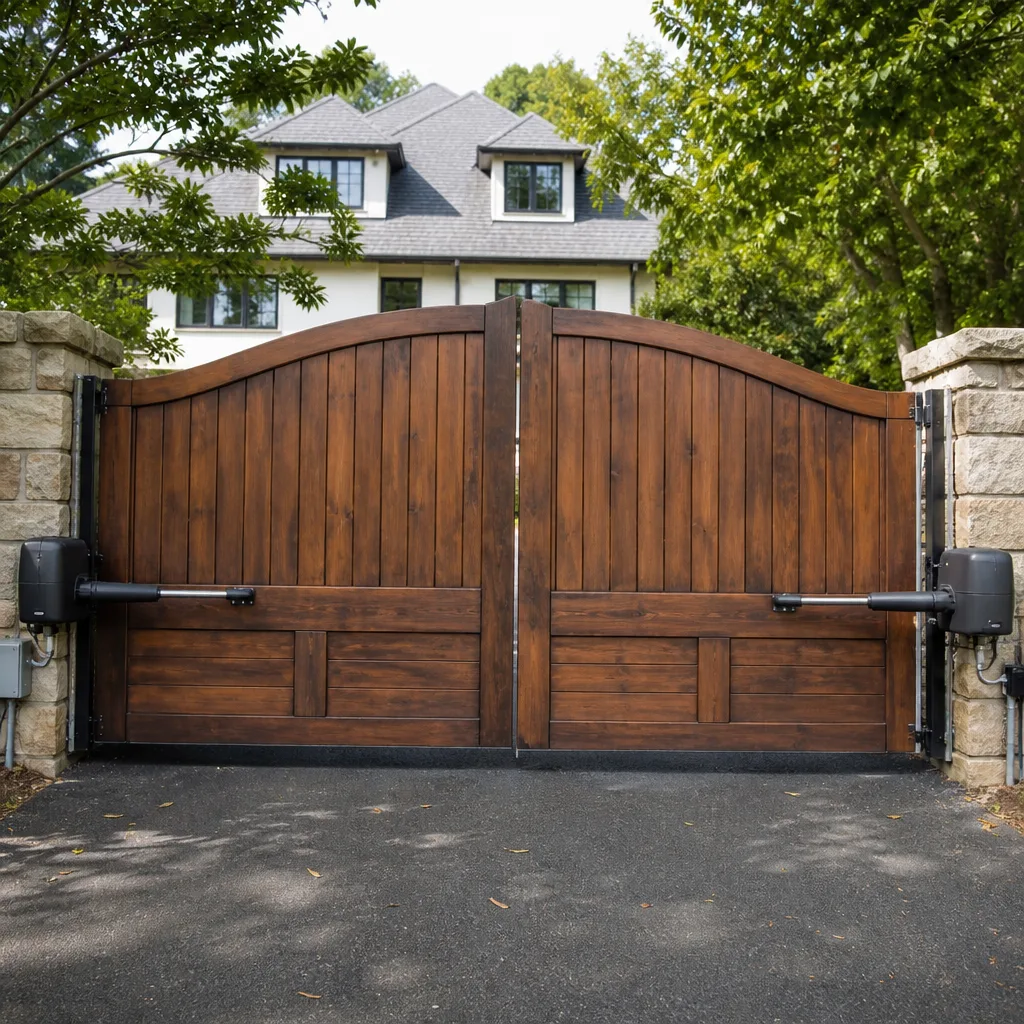 LiftMaster operators
Free on-site gate assessment - hinges, posts, and your LiftMaster or Nice gate operator checked before anything is quoted
The assessment is free and the quote is the invoice.
Get your free estimateDIY vs Professional Gate Repair: The Killeen Homeowner’s Decision Guide
The gate doesn’t care how confident you are. A driveway gate is really three systems stacked on top of each other: the mechanical frame and hardware, the drive components that move it, and the control and electrical layer that tells it when to move and when to stop. Here in Killeen, most homeowners who get into trouble didn’t lack handyman skill. They treated a control-layer problem as if it were a mechanical one, or vice versa. This guide maps those layers clearly, explains where Texas liability exposure changes the math on automated gates, and gives you a six-question decision tree so you can route any specific repair to the right answer without guessing.
Styles & brands we work with
- Wrought iron
- Wood & steel frame
- Farm & ranch
- Sliding driveway gates
- LiftMaster operators
Quick Answer
Mechanical and hardware work on a gate, like a sagging hinge, a worn gate wheel, or a loose bracket, is reasonable DIY territory for a careful homeowner with normal hand tools. Anything touching the operator, control board, safety sensors, loop detectors, or the power feed should go to a technician, because the risk profile is different and the liability in Texas follows the person who did the work. If you’re unsure which layer you’re standing in, that’s the moment to call a specialist rather than guess.
Table of Contents
- The Gate System Layer Map
- Layer 1: Structural and Mechanical Work You Can Do
- Layer 2: Drive Components and What They Demand
- Layer 3: Control, Electrical, and Programming
- Texas Liability and UL 325: The Part Most Guides Skip
- Which Repairs on Killeen Gate Brands Are Safe to Owner-Service
- The Hidden Cost of a Wrong DIY Diagnosis
- The Six-Question Decision Tree
- Common Mistakes to Avoid
- When to Call a Professional
- Frequently Asked Questions
- The Bottom Line
The Gate System Layer Map
Think of your gate as three layers. The top layer is what you can see and touch: hinges, wheels, the frame, the latch, the posts. The middle layer is what makes it move: the operator arm or the slide motor, the chain or the rack, the drive gear. The bottom layer is invisible until it fails: the control board, the receiver, the safety sensors, the loop detector, and the wiring that ties it all together. Most DIY-vs-pro arguments online collapse all three into one question, and that’s exactly why the advice is confusing.
The key insight is that the layers carry different risk profiles. A stripped hinge bolt doesn’t injure anyone, it just makes the gate drag. A miswired control board can put line voltage onto the frame. A misaligned safety sensor can cause a gate to close on a person or a vehicle, and that’s where liability exposure in Texas gets real.
- Layer 1 – Structural/mechanical: hinges, gate wheels, brackets, latches, frame alignment, post caps, cosmetic hardware. DIY-eligible with normal skills.
- Layer 2 – Drive components: operators, drive gears, chains, racks. DIY-eligible with brand-specific knowledge, but easy to get wrong.
- Layer 3 – Control/electrical/programming: control boards, receivers, safety loops, limit switches, wiring, power. Professional territory for most owners.
When we look at a gate in Killeen, the first thing we do is identify which layer has failed. That’s an important diagnostic step, because a symptom that looks mechanical (the gate won’t move) is often electrical (the operator isn’t getting a signal), and vice versa. If you can answer that question yourself with confidence, you can often narrow the repair to a layer you’re comfortable with. If not, that uncertainty is the signal to bring in a technician.
Layer 1: Structural and Mechanical Work You Can Do
The mechanical layer is where DIY is genuinely reasonable. It’s also the layer that causes most of the “my gate is dragging” complaints we hear. If you’re comfortable with hand tools, a drill, and normal safety precautions, these jobs don’t require specialized training or brand knowledge:
- Replace a gate wheel. Wheels wear out on sliding gates, especially on driveways with an uneven surface. Matching the wheel diameter and axle size is the main skill involved.
- Tighten a hinge or bracket. A loose hinge on a swing gate is the most common cause of sagging. Tightening hardware you can see and reach is a normal repair.
- Adjust a latch or gate stop. If the gate closes but doesn’t latch, the strike plate or stop block is usually the culprit.
- Replace a rusted bolt or cap. Cosmetic and hardware replacement is straightforward and doesn’t touch the operator.
- Clear debris from the track or wheels. A surprising number of slow-to-close gates in Killeen just have grit or gravel in the track after a windy stretch.
Where even the mechanical layer needs caution is weight and load. A wide swing gate can be heavy, and a gate that’s been leaning on a failing hinge can shift suddenly when you loosen the wrong bolt. If the gate is wide, if it’s heavy, or if it’s on a slope, get a second person to help and expect that you may need real shoring before you start.
One more note on the mechanical layer that Killeen homeowners ask about: driveway gates here frequently face heat and dry wind, and framing that has shifted slightly over a hot summer can change how a gate swings. Seasonal adjustment is quick for a technician and moderate for a homeowner. Neither is the wrong answer, but a gate that rubs after a hot month is not a sign of trouble. It’s a sign the frame wants a small adjustment.
Layer 2: Drive Components and What They Demand
The drive layer is where DIY shifts from “reasonable” to “reasonable if you know what you’re doing.” This is the layer with the operator, the drive gear, the chain or rack, and the limit settings that tell the gate where to stop. The parts look simple. The interaction between them is where owners get into trouble.
A few jobs in this layer that a homeowner with specific knowledge can handle:
- Chain tension adjustment on a chain-drive operator. A loose chain slaps and eventually falls off. Tensioning it is a mechanical adjustment, provided you can see the adjusting nut and know which way to turn it.
- Cleaning and lubricating the drive track or rack. Debris causes more drag than friction does. Cleaning is safe and should be done regularly.
- Replacing a visibly worn drive wheel on a slide gate. If the wheel is bolt-on and the gate can be safely blocked, this is within the drive layer but is a two-person job.
What makes the drive layer tricky is that its symptoms overlap with the control layer. An operator that “hums but doesn’t move” could be a broken limit, a failed capacitor in the operator, a stuck relay on the control board, or a blown fuse. That’s a five-minute diagnosis for a technician familiar with that brand, and a potentially expensive guess for a homeowner. This is where brand knowledge stops being a marketing phrase and becomes the whole job: a LiftMaster slide operator and a FAAC swing operator tell you different things when they fail, and a technician who works on both recognizes the difference by sound and behavior, not by opening a manual.
Also worth stating plainly: DIY on drive components rarely goes catastrophically wrong, but DIY on drive components that require removing the operator from its mount is different. If the operator comes off and goes back on crooked, you’ve now got a gate that won’t square and an operator that binds. If you’re at that step, that’s the moment to stop and call.
Layer 3: Control, Electrical, and Programming
This is the layer to leave alone. Control boards, receivers, safety sensors, loop detectors, limit switches, and the electrical feed to the operator all sit in the layer where a mistake can hurt someone or expose you legally. This is also where electric gate repair as a specialty exists for a reason: these are the components general handymen won’t touch, and they’re the components most likely to cause a mystery failure.
The control layer includes:
- Control boards. These are the brain of the operator. They don’t like moisture, they don’t like power surges, and they’re not always tolerant of a homeowner swapping a relay by trial and error.
- Receivers and remotes. Pairing a remote is DIY-friendly. Diagnosing why a receiver has stopped accepting pairings is not, because the failure could be the receiver, the antenna, the power, or the board.
- Safety sensors and photo-eyes. These exist to stop the gate when something is in its path. Misalignment or a loose connection is a safety issue, not a convenience issue.
- Loop detectors. These are the in-ground or surface-mounted sensors that tell the gate a vehicle is present. A poorly tuned or badly placed loop can cause gates to close on vehicles, which is a liability problem, not a repair problem.
- Power feed. Anything involving 120V or 240V wiring at the operator belongs with someone qualified. This is not the place for a homeowner to experiment.
Safety note: Gate operators and their power feed carry line voltage, and automated gates have crush and shear points at the frame, the hinges, and the leading edge. Wiring into a control board, adjusting a limit on a live operator, or working near a moving gate without proper safety sensors in place risks serious injury. If the repair involves opening the operator housing or tracing a wire, stop and call a trained professional. The same caution applies to heavy swing gate panels that can fall when hardware is removed, and to slide gates that can come off the track if the gate is moved while a wheel or stop is off.
Texas Liability and UL 325: The Part Most Guides Skip
Automated gates on residential properties are governed by safety standards the gate industry has adopted as the baseline, most notably UL 325. That standard defines the safety features an automated gate must have, including the means to detect an obstruction and reverse or stop. We won’t pretend to be your lawyer, and the exact legal question of what happens when a DIY repair causes an injury is a question for an attorney. But the practical point is this: when you do the work yourself on the safety layer, you own the consequences of that work.
Here’s what that means in practice for a Killeen homeowner:
- If you bypass a safety sensor because your gate keeps reversing, you’ve disabled the exact feature that prevents injury. That’s not a repair, that’s a decision with legal weight.
- If you wire in a loop detector incorrectly and a vehicle is damaged, the question of who did the work matters. It’s your name on the work, not a technician’s.
- If a gate you repaired later injures someone, inspectors and insurance companies look at whether the safety features were functioning at the moment of the incident. A missing or disabled safety feature is a serious problem regardless of who did the work.
- For commercial property managers in Killeen, the exposure is doubled. A tenant, a delivery driver, or a visitor injured by an automated gate pulls in the property owner, the manager, and whoever last serviced the gate.
This isn’t a scare tactic. It’s the reason the control layer belongs with a specialist. The cost of a professional repair on a safety component is a known quantity. The cost of an injury claim on a gate you worked on yourself is not. When the math is that lopsided, the decision makes itself.
Which Repairs on Killeen Gate Brands Are Safe to Owner-Service
The brand matters for two reasons: warranty terms and diagnostic logic. Different operators fail in different ways, and knowing the brand tells a technician where to look first. We work on nine major gate systems, including LiftMaster, FAAC, BFT, Linear, Viking, Ghost Controls, DoorKing, Elite, and Mighty Mule, and we see the same patterns repeat. Here’s how the warranty question usually shakes out on the brands most common in Killeen homes.
Before you touch anything, find the warranty sheet that came with your operator. Most manufacturers don’t void a warranty for replacing a customer-serviceable part like a wheel or a remote battery, but they do void coverage for damage caused by incorrect installation or wiring. If the repair involves anything in the control layer, assume you’re on your own for the warranty unless you can verify otherwise with the manufacturer.
On LiftMaster operators, replacing a remote, changing a battery in the operator, and visually inspecting a drive belt or chain are typically safe. Anything past the housing, including limit adjustments and receiver changes, is where warranties get touchy.
On Linear systems, the drive hardware is usually accessible and owner-serviceable, while the control board is not. On FAAC, the swing operator often has user-adjustable settings, but the correct value depends on the gate’s weight and travel, so a homeowner guess is a real risk.
When we check warranty eligibility for a repair in Killeen, we don’t guess. If the repair would void coverage, we tell you before we start. That’s the same reason we work with your brand instead of around it: the operator was designed a specific way, and knowing how that brand thinks about its limits and safety features is part of the repair.
The Hidden Cost of a Wrong DIY Diagnosis
A wrong diagnosis doesn’t just cost you the price of the part you bought. It changes the shape of the repair. Here’s how that happens.
Suppose your gate stops reversing. The symptom is consistent with a failing safety sensor, a misaligned gate, a bad control board, or a loop detector that’s lost tuning. A homeowner reads that it’s “probably the sensor” and buys a replacement, installs it, and the gate still doesn’t reverse. Now the technician is looking at a gate with a new sensor, original board, and a symptom that has been altered by the swap. The diagnostic work takes longer because the baseline has changed. That extra time is real, and it’s payable.
A second pattern we see: a homeowner adjusts the operator limit because the gate was stopping short. The actual cause was a drag on the mechanical layer, and the limit adjustment masked it. Now the gate closes harder than it should, the operator wear accelerates, and the eventual repair is larger than the original drag would have been. Smaller diagnostic mistakes make bigger repair bills. That’s the whole story.
The third pattern is brand-related. An operator that fails to respond to a remote is easy to diagnose if you know how that specific receiver logs its state. On a LiftMaster, you might check the program state. On a Linear, you might test the receiver directly. Homeowners who try to diagnose without that brand logic burn time and parts on guesses. A technician’s first visit is cheaper than three of those guesses, and it comes with an answer.
The Six-Question Decision Tree
Here’s the whole guide boiled down. Answer these six questions in order, and stop at the first one that gives you a “no” answer. That answer tells you what to do next.
- Can you see the failed part and identify it by name? If you can’t name the part (hinge, wheel, latch, bracket), that’s a diagnosis problem, not a repair problem. A technician should diagnose it first.
- Does the repair involve opening the operator housing, tracing a wire, or adjusting a limit on a live system? If yes, stop. That’s the control layer, and it should go to a technician.
- Can you safely block, support, or lock the gate while you work? If the gate is heavy, on a slope, or can’t be secured, don’t start. Two people and proper support are non-negotiable for anything that moves a panel.
- Does the repair affect a safety feature, including the sensor, the reverse, or the loop detector? If yes, that’s a professional repair. Safety features are the one layer where you don’t want to test by trial and error.
- Is the part you’re replacing specifically excluded by the operator manufacturer’s warranty? If yes, and you’re inside the warranty period, get the repair done properly so the warranty stays useful.
- If you’re wrong, could the failure hurt someone or damage a vehicle? If yes, call a professional. If no, and you’ve answered the previous five questions cleanly, this is a repair you can do.
If your gate’s problem doesn’t map cleanly to these questions, that’s expected. The decision tree is designed to give you a clear answer on the repairs that are unambiguous. The ambiguous ones are the ones where a short call is cheaper than a long guess.
Common Mistakes to Avoid
- Bypassing the safety sensor to get the gate moving again. This is the single most common and most dangerous shortcut. The sensor exists because the gate can close on a person, a pet, or a vehicle. A bypassed sensor is a decision with legal weight.
- Adjusting the operator limit to hide a mechanical drag. If the gate is dragging, the drag is the problem. Adjusting the limit to push past it wears the operator and delays the actual repair.
- Buying a replacement part before the diagnosis. The control board is not always the failed part, and a replacement board that doesn’t fix the symptom leaves you with a spare and a repair that still isn’t done.
- Assuming a brand-agnostic repair shop will be cheaper. For a control-layer problem on a LiftMaster or FAAC operator, a specialist is usually faster and more accurate than a generalist. Speed of diagnosis is the real cost saving.
- Working on a live operator without confirming the power is off. Line voltage is line voltage. Even on a low-voltage operator, the transformer and the supply side are not safe to handle live.
- Ignoring a gate that’s off its track after a storm. In Killeen, wind events can shift a slide gate off its track or rack it against the frame. Driving it back into position with the operator while it’s off-track causes more damage than the storm did.
- Forgetting that Killeen’s dry heat affects hardware. Metal expands and contracts across a summer, and a gate that’s tight in April can bind in July. Seasonal adjustment is a normal part of ownership, not a sign that the gate is failing.
When to Call a Professional
Call a professional when the repair touches the control or electrical layer, when a safety feature isn’t working, when the gate is heavy or on a slope and you don’t have help and shoring, when the diagnosis isn’t clear, or when you’re inside a warranty period and the repair could affect coverage. Call also if the gate has failed in a way that blocks access for a commercial property or a shared driveway, because the consequences of a delayed repair get larger the longer the gate is down.
We work on your brand, not around it, and we handle gates only. Our technicians have up to 13 years of experience, and we can work with the brand you already own rather than pushing you toward a replacement. If you’re ready to hand the diagnosis to a specialist, Gate Repair Killeen offers free estimates in Killeen. Call (866) 722-0161. We answer 24/7, and fast dispatch runs 7am to 7pm, Sunday through Friday.
Frequently Asked Questions
Mechanical and hardware repairs are generally safe for a careful homeowner with normal hand tools. Control and electrical repairs, anything touching the operator housing, and anything affecting a safety feature should go to a technician, because the risk of injury and the liability exposure in Texas are both real. If you can’t answer whether the failed part is in the mechanical layer or the control layer, call a professional for a diagnosis.
It depends on the operator and on what adjustment you make. Changing a remote battery or tensioning a chain is usually within normal owner service. Adjusting a limit switch, swapping a control board, or rewiring the power feed may void coverage and is a professional repair. Check the warranty sheet that came with your operator before you touch anything in the control layer, and call (866) 722-0161 if you want the repair done without risking coverage.
UL 325 is the safety standard the gate industry uses as its baseline for automated gate safety features, including obstruction detection. When you repair the safety layer yourself, you own the results of that repair. If the gate later injures someone or damages a vehicle, the question of who did the work matters. That’s the practical reason most homeowners leave the safety layer to a trained technician.
Yes. Brand-specific diagnostic logic is the main difference between a specialist and a generalist, and it’s why a LiftMaster operator that “won’t respond” gets diagnosed differently than a FAAC swing operator with the same symptom. We work on nine major gate systems, including LiftMaster, FAAC, BFT, and Linear, and we diagnose by how that brand behaves rather than by opening a manual on the driveway.
Professional. A gate that closes when a vehicle is present points to a loop detector, a sensor, or a control board problem, and it’s the exact type of failure that causes injuries. Do not test it by driving under it again. Call (866) 722-0161 for an on-site diagnosis before it’s used again.
Yes, plan to be on site. The estimate is free, and it’s based on the gate as it actually sits: the operator, the mechanical condition, and the safety features. A technician can’t give you a written estimate over the phone for a repair any more than a doctor can treat a symptom without seeing it. Call (866) 722-0161 to set an on-site estimate, and the written price sets the final cost before any work starts.
The Bottom Line
Gate repair isn’t one decision, it’s three. The mechanical layer is reasonable DIY work for a careful homeowner. The drive layer is DIY with brand knowledge, and often not worth the risk of getting it wrong. The control layer belongs with a technician, both because a mistake can injure someone and because a wrong diagnosis on the control layer makes the real repair take longer. If your gate is in Killeen and you’re not sure which layer you’re standing in, the right move is a short call, not a long guess. We handle gate repair only, we diagnose first and replace only when necessary, and we can work with the brand you already have.
Call (866) 722-0161 for a free estimate. We answer 24/7. Fast dispatch from 7am to 7pm, Sunday through Friday. And if this guide helped you narrow it down to a mechanical fix you can do yourself, that’s a good outcome too. The point of a decision guide is to help you decide, not to sell you something you don’t need.
Written by the team at Gate Repair Killeen.
See the difference
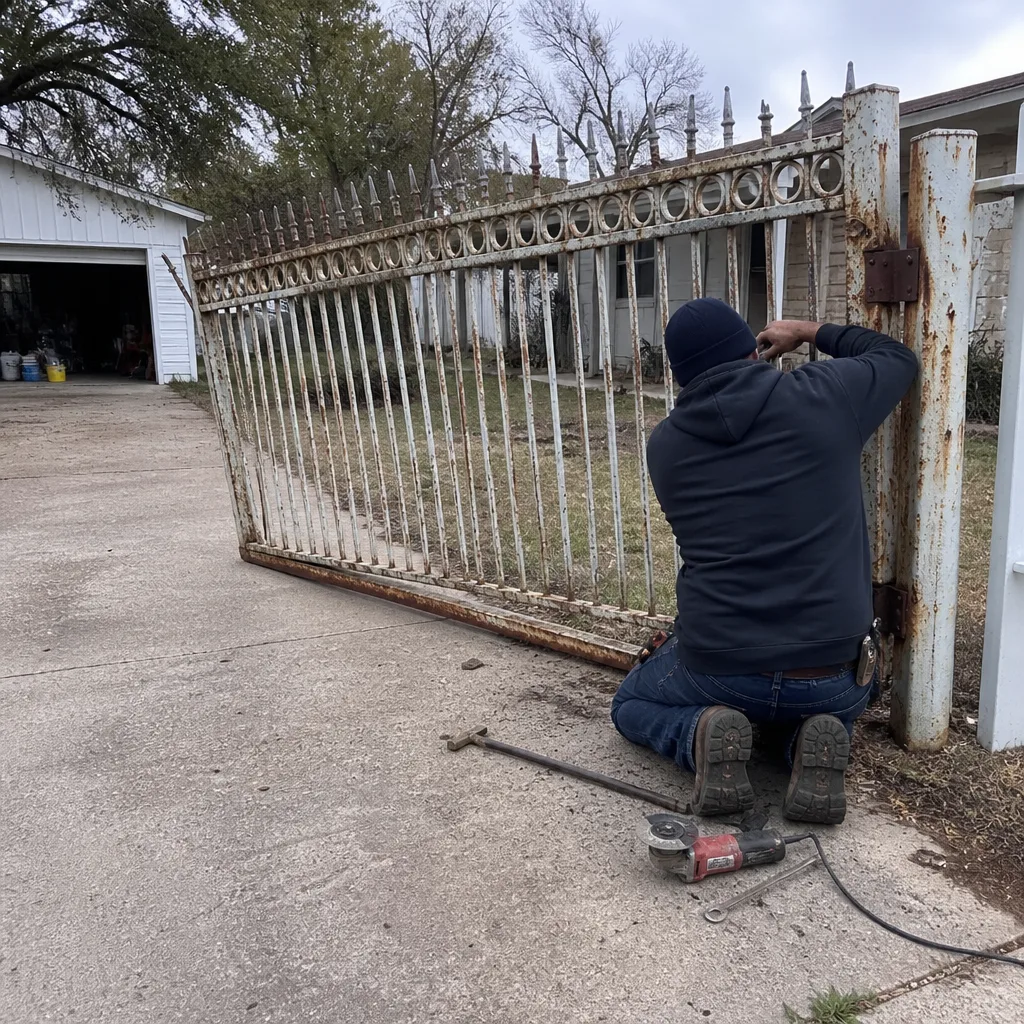 Before
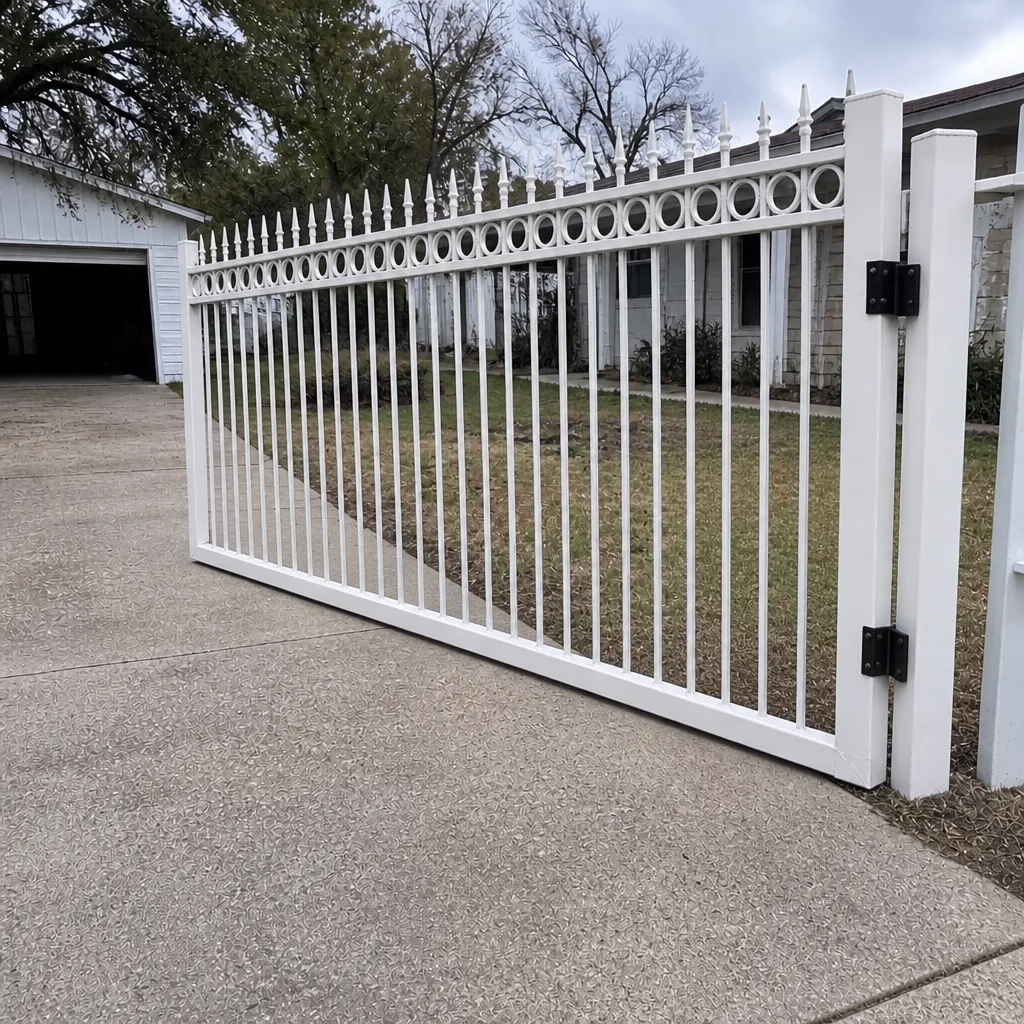 After
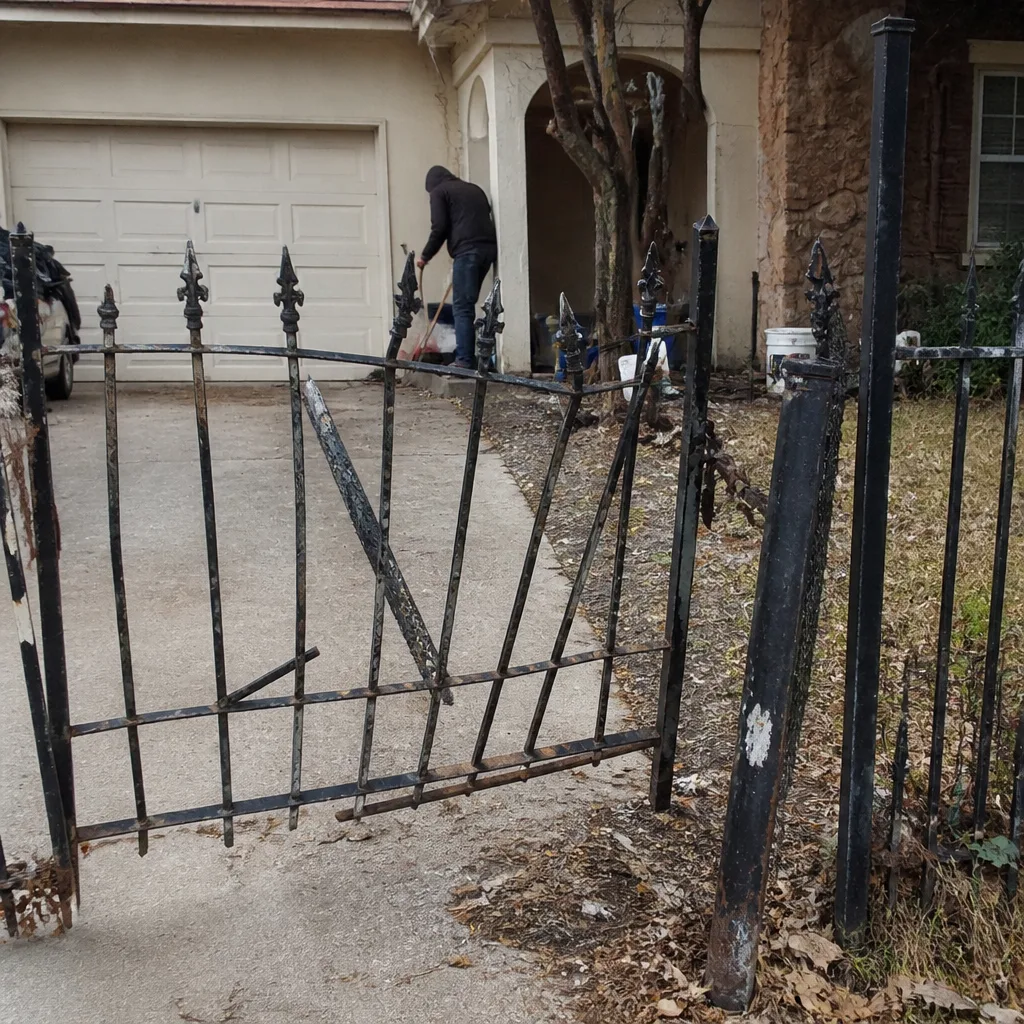 Before
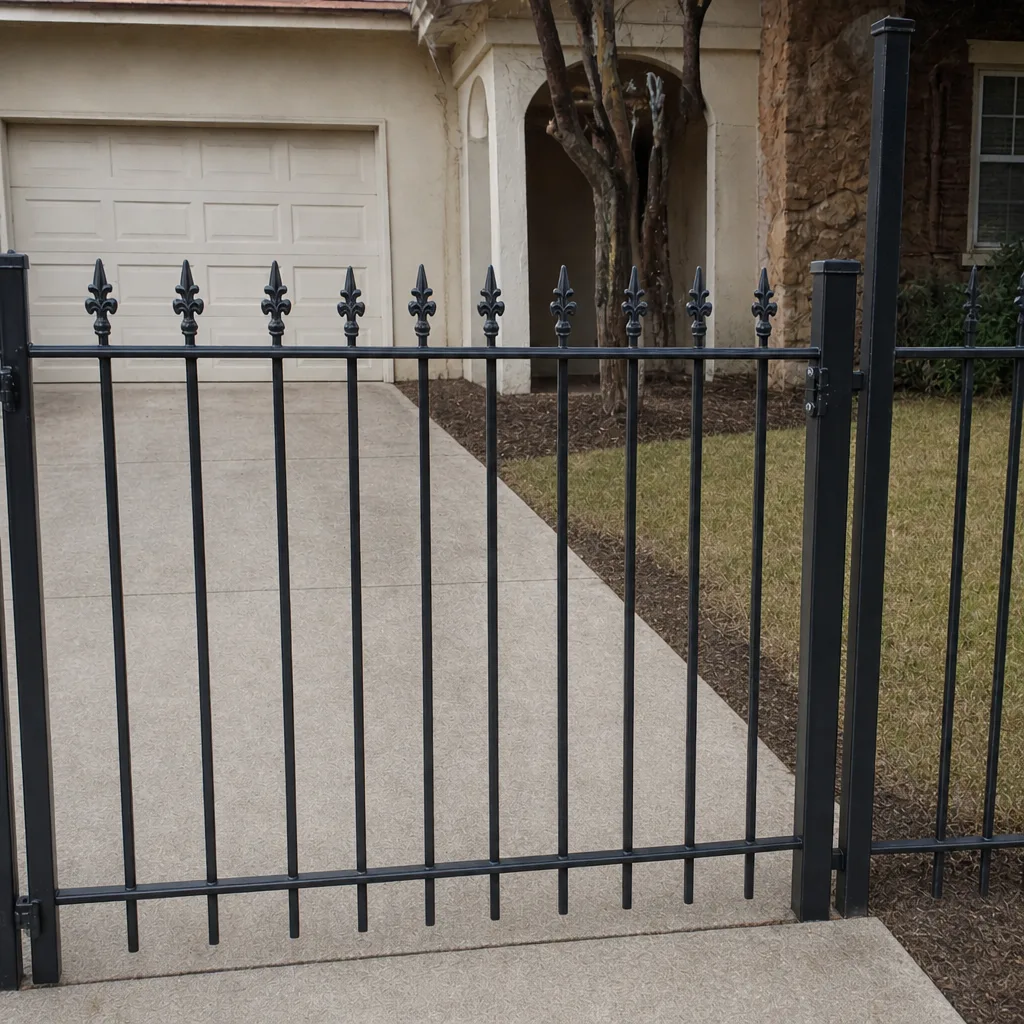 After
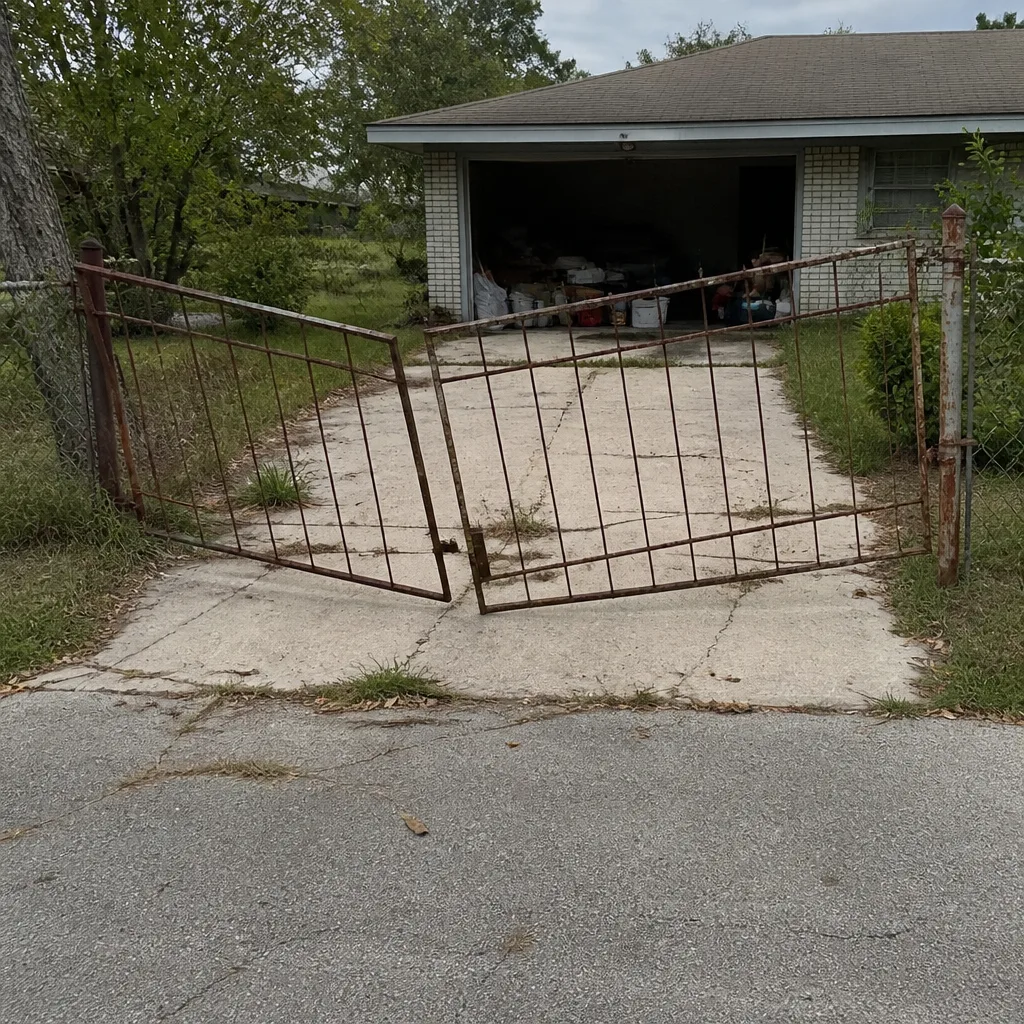 Before
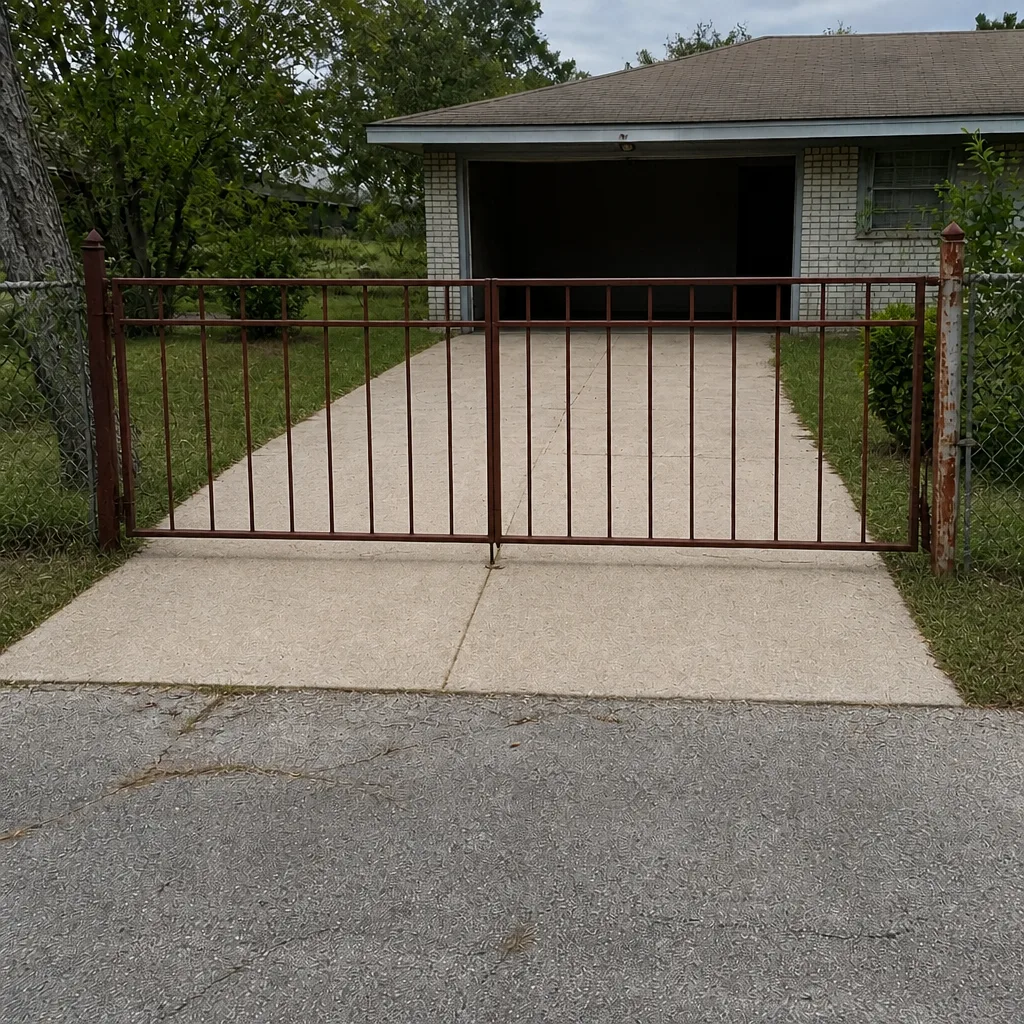 After